FERMENTING MILK KEFIR
Milk kefir is a fermented beverage, filled with probiotics and other healthy ingredients. Kefir is made by leaving special reusable living cultures, called kefir grains, in milk to ferment for 24 hours. Kefir helps boost your immune system, improves your digestion, helps regulate your cholesterol, and has other numerous beneficial effects.
See answers to the FAQ about milk kefir below.
Fermentation is a process that happens when you leave kefir grains in water or milk. Fermentation is a metabolic process where live cultures consume sugar and produce organic acids, gasses, and alcohol. Traditionally we use fermentation to produce wine and beer, to preserve food (pickled vegetable, kimchi) and for lacto-fermentation (kefir, yogurt).
Live cultures are essential
We need live cultures for fermentation – kefir grains are a combination of yeasts and bacteria. Lactobacilli, for example, is the bacteria that converts lactose in milk (milk sugars) into lactic acid in yogurt and kefir giving it its sour taste.
STEP 1
Put the grains into the jar and add the appropriate amount of milk – The measurement lines mark 300 ml/10 oz (approximately one serving).
STEP 2
Open the top lid of the jar slightly to allow the airflow needed for the fermentation. Leave it at room temperature for about 24 hrs. The primary fermentation is finished when the milk becomes thicker and sour in taste.
STEP 3
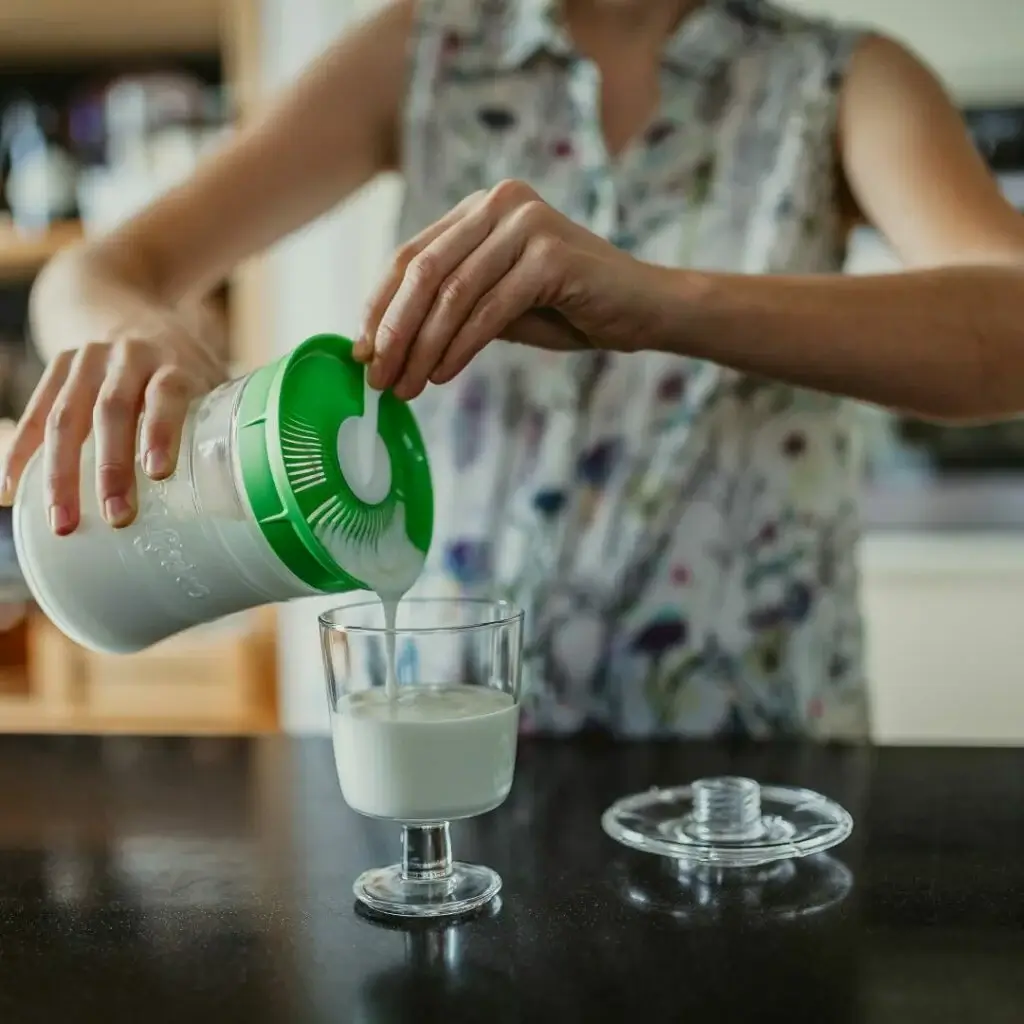
When the process of primary fermentation is finished (~ 24 hours), remove the strainer lid and use a swizzle stick to gently mix the produced kefir. This will help you strain it. Put the strainer lid back on the jar.
STEP 4
Apply the scrapper tool on the strainer lid and strain the kefir into a jar, turning the scraper in a half-circle motion in the process. The grains will remain in the glass jar and strained kefir is ready for second fermentation or immediate use.
- Pour a small amount of room-temperature milk into a glass jar and add milk kefir grains from the bag/container.
- Leave to ferment for 24 hours.
- Strain the grains and discard the milk.
- Wash the grains with lukewarm non-chlorinated water and repeat the first step.
- Change the milk every 24 hours, until it starts fermenting kefir.
- Once you are satisfied with kefir, use more milk for fermentation.
You can prepare milk kefir with cow, goat, sheep, or plant-based milk. Choose full-fat fresh or pasteurized milk for the preparation of kefir. Kefir grains are usually grown in cow milk unless stated otherwise by the producer. If you want to prepare kefir from another kind of milk, be careful when you are making the change. If possible, start with only part of the grains in the new milk. Save the rest just in case the change doesn’t go well. Every change of ingredients can affect the grains. You will probably need to change the new milk a few times before you will get kefir. Grains need time to adapt to the new ingredients.
Activation time depends on how long the grains were without food. Usually, it takes 7-14 days to activate milk kefir grains. When you decide to activate kefir grains, put them in lukewarm milk. Try using the same milk that was used before (cow, sheep, goat). Change the milk every 24 hours and gently wash the grains when changing the milk. You can stop washing the grains after the 3rd or 4th batch. Keep changing the milk until the grains are activated, that is when they start producing kefir. This can happen very quickly but sometimes can take up to 2 weeks if the grains were stored for a very long time.
Sometimes the kefir grains are small from the start, other times it’s just parts of the bigger grains that separate. There is nothing wrong with small grains, as long as they produce good kefir. If you are worried that you will lose the grains, try straining them through smaller slots until they grow bigger.
If you are activating fresh kefir grains, you can wash them right away. If you have dehydrated grains, put them in milk first.
After 24 hrs of fermentation strain and gently wash the grains with lukewarm water. Make sure it’s not chlorinated because that can kill the live microorganisms in the grains. You can wash the grains every time you change the milk during activation. You can stop doing this after the 3rd or 4th batch.
Usually milk kefir ferments for 24 hours. If after one day the milk still has not fermented, you can leave it longer, up to 48 hours. If after 24 hours the kefir has already separated and the kefir is too sour for your taste, you can ferment it for a shorter period. The milk kefir has a slightly sour taste and a thicker consistency than milk. It looks a lot like yogurt but with a more distinctive taste.
When kefir should ferment longer?
- milk is still very thin,
- there are too few grains for the amount of milk,
- you want to make sure there is a very small amount of lactose in kefir,
- low environment temperature that slows down fermentation,
- you want to have more sour kefir.
When do you need to shorten the fermentation time?
- kefir starts to separate,
- the ratio, of kefir grains to milk, is too high,
- if you prefer the milder, less sour taste of kefir,
- the temperature in the environment is quite high.
Kefir is a traditional fermented beverage with numerous health benefits: but to get the best of it, it has to be fresh – and for this home preparation is the best.
Start making kefir at home
Making kefir by yourself allows you to enjoy all the richness and health benefits of the beverage. Since no preservatives are added, you have better control over the quality of your kefir. You can also tailor it to your own taste. You can make as much or as little of kefir as you need. Compared to the kefir you can buy in stores, the homemade beverage contains a much higher degree of kefir-specific active substances which are important for your health. By culturing and storing homemade milk kefir in a glass jar you will avoid unwanted exposure to BPA and other toxins from plastic. You will save money and create less waste.
Originating from the Caucasus region, kefir or búlgaros was made by fermenting cow, goat, or sheep milk with milk kefir grains. Traditionally kefir was prepared in goatskin bags that were hung near the entrance to the house. Every time a visitor would come to the house he would knock on the bag. This would keep the milk and kefir grains well mixed.
Prepare kefir in Kefirko Kefir Maker
The word kefir is believed to have originated from the Turkish word “keif” which means “good feeling”. It’s pronounced many different ways, most common are “key-fur”, “keh-fear”, “k’fear”, “kuh-fear”, “kee-fer”.
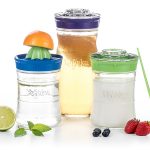
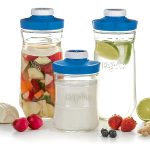
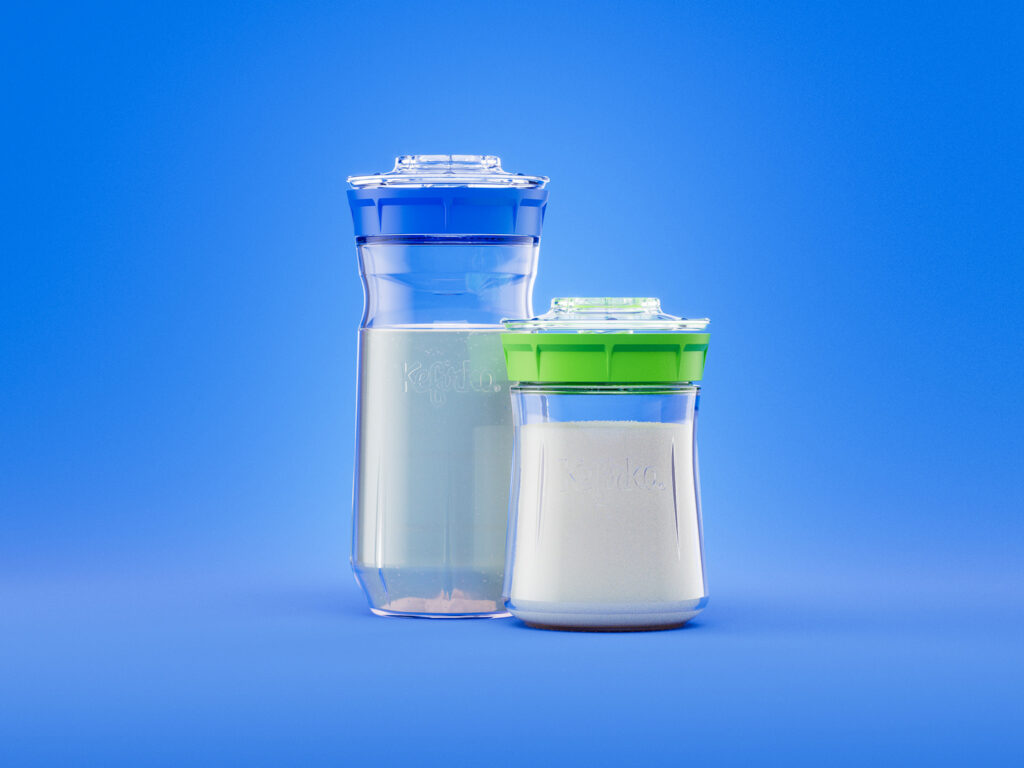
To prepare kefir at home you need a glass or a plastic jar, sieve, and lid or cloth to cover it. Kefirko is an all-in-one tool made of a glass jar (0,9 L or 1,4 L), a plastic strainer and a top lid that enables a slightly open jar during fermentation.
Use proper supplies for fermenting
Always use a glass jar with a lid to prepare kefir. Live cultures are very sensitive to the different substances that can transfer from materials and affect the quality of kefir or even damage the cultures. It is not recommended to use any metal or plastic in long contact with the kefir because it can expose it to BPA and other toxins from plastic. All plastic materials used in Kefirko Kefir Maker are certified BPA-free and food-safe materials.
There are many positive benefits for health and general well-being when drinking kefir.
Here are listed benefits of kefir
- contains easily digested proteins
- full of good bacteria helping digestion
- contains antimicrobial strains of lactobacilli
- boosts immunity
- supports detoxification
- helps balance gut bacteria disturbed by antibiotics and can heal the skin after severe burns
- heals the inflammatory bowel disease
- helps fight allergies
- can be consumed by the lactose-intolerant
- lowers the blood pressure
- helps in building bone density
- kills candida
- can help combat anemia
- used in preventing and treating cancer
Start fermenting with Kefirko
Start your dose of kefir gradually by drinking about 100 ml of kefir a day. You will start noticing the effects of kefir quickly. It depends on how sensitive you are and what your nutrition is like until starting with kefir. Reactions can be huge and they can become more intense until your body adapts.
Side effects of drinking kefir:
- stomach cramps/gurgles,
- constipation,
- bloating …
If you have no experience with consuming live food the effects will probably be more obvious. You should not stop drinking kefir if the effects aren’t too overbearing. If you don’t manage to overcome them, stop drinking kefir and get medical advice. It is possible that kefir is not for you.
Increase the amount of kefir
When you manage to overcome these effects your body adapts to daily drinking kefir. You can slowly build up to the desired amount of kefir. It’s recommended to drink about 200-300 ml of fresh milk kefir a day (1 cup) and you can add a bit more if you drink water kefir (350 ml/1,5 cup). The Kefirko glass jar has tactile markings on the side that indicate 300 ml – 1 dose of kefir.
You will start to experience the benefits of drinking kefir soon. It’s best to drink kefir non-stop for at least 3 months to feel the desired effects on your well-being.
It’s possible you have to limit your kefir intake if you experience serious side effects. This happens when you have some health conditions that recommend consuming less proteins, probiotics, acidic food, etc. You should always seek advice from your doctor when you feel discomfort. You should find your limit where you feel good and stick to it. Whether it is less or more than 1 cup it depends on you.
Start slowly
Once you get used to drinking kefir you will not feel the uncomfortable symptoms anymore. This should happen in approximately 2 weeks when you will be starting to feel positive benefits of kefir. But note, for best results you should drink kefir every day!
Get Kefir Fermenter
Surrounding room temperature is a very important factor of the fermentation process. For best results, prepare kefir at room temperature (20-24 degrees C). If you have slightly more warm temperatures or in summer months you might notice it takes less time for kefir to ferment. The opposite is also true. When in colder temperatures, the fermentation slows down and it can take longer for kefir to ferment.
Get your kefir making supplies
It takes about 12-24 hrs for milk kefir to complete the fermentation process. You will notice that the fermentation is happening because the milk will become more thick and sour in taste. You can check for changes after 8-10 hours, the milk should become thicker and the smell should be developing already.
Milk kefir is usually fermented after 24 hours. There will be some signs of successful fermentation during that period. You can check after 8-10 hours if the fermentation is happening. You should notice the distinctive smell of kefir and milk getting thicker. After 20 or more hours the consistency should be just right. Milk has become thick and sour in taste, that is milk kefir.
When you over-ferment milk kefir you can see a separation of solids from whey in the jar. You can easily mix the kefir with a stick and you will get a creamy kefir. If the kefir is very over-fermented it can happen you will have some difficulty separating the grains from the kefir. Use a strainer lid and help yourself with a scraper tool.
Don’t over-ferment too often
It’s not recommended to over-ferment kefir often. The grains are a live culture that needs food. After primary fermentation is finished, the grains will not have enough food and will starve. If you repeat this too often you can damage or even kill the kefir grains.
Start making milk kefir.
The yeasts in the culture need some air for fermentation. Also during the fermentation, there are gases produced, so keeping a partially open lid will work best with kefir fermentation.
The Kefir fermenter has a two-part lid that enables airflow during fermentation. For the second fermentation, when you strain out the kefir grains, you can use an airtight lid.
Second fermentation gives your ferment a full spectrum of live microorganisms. Many claim that only with second fermentation can you really benefit from fermented beverages.
This is also the time when you can add some flavouring and make your kefir more fizzy. Even though it is important, it’s not obligatory. You will still benefit a lot from freshly made kefir.
Seal your glass of freshly strained kefir with an airtight lid and put it in the refrigerator for one day to complete the secondary fermentation process. This will add the full spectre of probiotics to your kefir while preserving its freshness on the next day.
Flavour it!
You can add some flavours to kefir for the second fermentation to give it a little kick.
Start the second ferment with Kefirko
You can prepare non-dairy kefir too. Water kefir is one option and non-dairy milk kefir is possible too. You can easily prepare kefir with coconut or nut milk. Your milk kefir grains will need time to adjust. The first one or two batches might not be as good as you want them to be. This is due to grains being used in another environment. This adjustment period is present with most small changes in the fermentation environment (migrating from store-bought milk to fresh raw milk).
Mind the revitalization
Just note the milk kefir grains may need to be revitalized every few batches in the regular milk to make sure they get enough food. If they work ok with your kefir, this isn’t necessary, but if you experience some difficulties with bad results after successfully fermenting a few batches, this might be the problem.
Make vegan kefir with Kefirko


